How to Fix Joystick on Xbox One Controller: A good, functional joystick is the lifeblood of a smooth and immersive gaming experience. It can mean the difference between executing a perfect combo in a fighting game or missing your shot in a tense first-person shooter.

Unfortunately, joystick drift or unresponsiveness is a common issue that many Xbox One controller users face. This issue can impede the gaming experience, making it frustrating rather than enjoyable.
Introduction
A good, functional joystick is the lifeblood of a smooth and immersive gaming experience. It can mean the difference between executing a perfect combo in a fighting game, or missing your shot in a tense first-person shooter.
Unfortunately, joystick drift or unresponsiveness is a common issue that many Xbox One controller users face. This issue can impede the gaming experience, making it frustrating rather than enjoyable.
In this article, we will discuss how to fix the joystick on an Xbox One controller thumbstick pad, providing step-by-step instructions and tips to help you resolve the issue and get back to gaming.
Understanding the Problem
The problems that plague the joystick, such as joystick drift or unresponsiveness, often stem from wear and tear, dust accumulation, or calibration issues. Over time, these factors can interfere with the joystick’s ability to accurately register your inputs.
The impact on gameplay can be significant. A faulty joystick can result in unresponsive characters or erratic movements, effectively spoiling the overall user experience.[How to Fix Joystick on Xbox One Controller]
To address these issues, it is essential to understand the underlying causes and take appropriate measures to fix them.
Read Also How to Play Just Dance on Xbox One Best Method ⬅️

Tools and Materials Needed
To fix the joystick on your Xbox One controller, you will need a few tools and materials. These include a T8 Torx screwdriver, a pry tool, isopropyl alcohol, and a microfiber cloth.
The T8 Torx screwdriver and pry tool are used to open the controller casing, while the isopropyl alcohol and microfiber cloth are essential for cleaning the thumbstick pad. Having these tools ready before you begin the repair process will ensure a smooth and efficient experience.
Guide to Fixing the Joystick
A. Step 1: Disassembling the Xbox One Controller
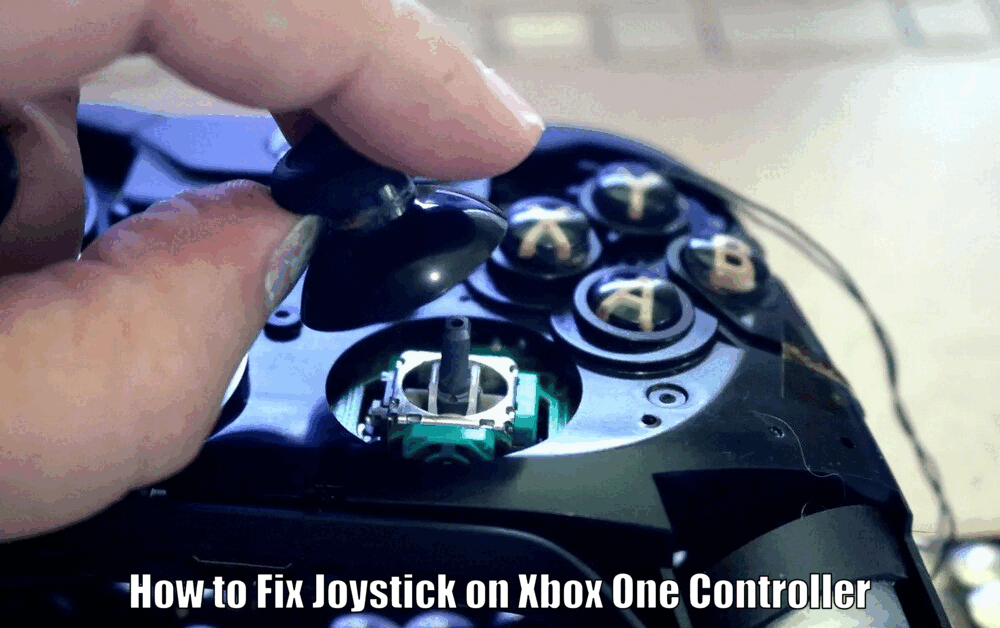
To start, remove the battery from the controller to avoid any electrical damage. Then, use the T8 Torx screwdriver to unscrew the controller casing. Carefully pry open the casing to avoid damaging the internal components.
It is crucial to handle the disassembly process with care and precision to prevent any further damage to the controller.
B. Step 2: Cleaning the Thumbstick Pad
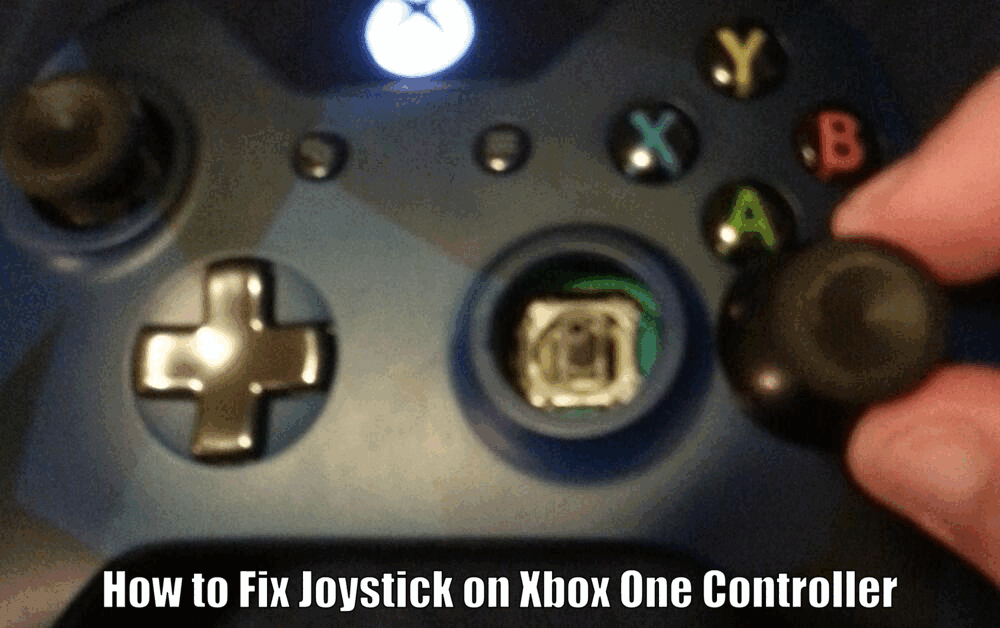
Once the controller is open, inspect the thumbstick pad. If you notice any dust or debris, gently clean it using the microfiber cloth dampened with a bit of isopropyl alcohol. This can help restore the pad’s responsiveness.
Pay attention to detail while cleaning, ensuring that all the nooks and crevices are thoroughly cleaned to remove any dirt or grime that may affect the performance of the thumbstick pad.[How to Fix Joystick on Xbox One Controller]
C. Step 3: Adjusting or Replacing the Thumbstick Module
If cleaning doesn’t fix the problem, you may need to recalibrate or adjust the thumbstick module. You can do this using the Xbox Accessories app. Launch the app on your Xbox One console and navigate to the Controller tab.
From here, select the controller you want to calibrate and follow the on-screen instructions to adjust or recalibrate the thumbstick module.
If the problem persists, consider replacing the thumbstick module following the manufacturer’s instructions. This step is crucial for resolving more complex issues that cleaning alone may not fix.
Read Also How to Play Just Dance on Xbox Series X Easy Way ⬅️
D. Step 4: Reassembling the Xbox One Controller
Once you’ve cleaned or replaced the thumbstick, it’s time to reassemble the controller. Carefully replace the casing and tighten the screws using the T8 Torx screwdriver.
Be careful not to over-tighten, as this could damage the casing. Take your time during the reassembly process to ensure that all components are properly aligned and securely fastened.

Testing and Troubleshooting
After reassembling the controller, it’s important to test the joystick to see if the problem has been resolved. Connect the controller to your Xbox One console and launch a game that requires joystick input.
Test the joystick by moving it in different directions and observing the response on the screen. If you’re still experiencing issues, consider seeking professional help or consulting the Xbox One’s official troubleshooting guide.[How to Fix Joystick on Xbox One Controller]
Sometimes, certain issues require expert intervention or advanced troubleshooting techniques.
Preventive Measures and Maintenance
To avoid future joystick problems, consider investing in a joystick cover to minimize wear and tear. These covers provide an additional layer of protection for the thumbstick pad, shielding it from dust, dirt, and other potential contaminants.
Regular cleaning can also help prevent dust accumulation, which can lead to joystick drift. It is recommended to clean the thumbstick pad periodically using isopropyl alcohol and a microfiber cloth.
By incorporating these preventive measures and maintenance practices into your routine, you can prolong the lifespan of your Xbox One controller and ensure optimal performance.
Read Also how to join ark server by ip on xbox game pass Best Way ⬅️
Conclusion
Fixing a joystick on an Xbox One controller might seem like a daunting task, but with the right tools and a little patience, you can restore your controller to its former glory.
Not only will this enhance your gaming experience, but it will also extend the lifespan of your controller. So, why wait? Grab your toolkit and start fixing! By following the step-by-step guide provided in this article and taking preventive measures, you can overcome joystick issues and enjoy a seamless gaming experience on your Xbox One.
How to Fix Joystick on Xbox One Controller – FAQs
Q1: What are some common issues with Xbox One controller joysticks?
A: Some common issues with Xbox One controller joysticks include joystick drift and unresponsiveness. These issues can occur due to wear and tear, dust accumulation, or calibration problems.
Q2: What tools and materials do I need to fix the joystick on my Xbox One controller?
A: To fix the joystick on your Xbox One controller, you will need a T8 Torx screwdriver, a pry tool, isopropyl alcohol, and a microfiber cloth. These tools are used for disassembling the controller, cleaning the thumbstick pad, and reassembling the controller.
Q3: How do I clean the thumbstick pad of my Xbox One controller?
A: To clean the thumbstick pad, open the controller casing using the T8 Torx screwdriver and pry tool. Inspect the thumbstick pad for dust or debris and gently clean it using a microfiber cloth dampened with isopropyl alcohol. Pay attention to detail and clean all nooks and crevices thoroughly.
Q4: What should I do if cleaning doesn’t fix the joystick problem?
A: If cleaning doesn’t fix the problem, you may need to recalibrate or adjust the thumbstick module using the Xbox Accessories app. Launch the app on your Xbox One console, navigate to the Controller tab, select the controller you want to calibrate, and follow the on-screen instructions. If the problem persists, consider replacing the thumbstick module following the manufacturer’s instructions.
3 thoughts on “How to Fix Joystick on Xbox One Controller Free Method ⬅️”